Windows 10 is available for purchase in a few different forms.
It comes as an installation DVD or flash drive and is also available as activation key-only purchases.
If you only have an activation key, or have lost your DVD/flash drive, you’ll need to create Windows 10 installation media in order to install.
The method described in this how-to will work for Windows 10 Home and Windows 10 Pro in both 64-bit and 32-bit versions.
What You’ll Need
First is a computer that already has Windows 7, 8.1, or 10 installed and is connected to the internet.
You will need to use a user profile on the computer that allows program installers to run.
We don’t recommend using a work computer unless you have administrator privileges.
You’ll also need a blank USB flash drive or a blank, writable DVD, depending on what media you plan on making.
Lastly, you’ll need to download Microsoft’s installation media creation software from their website.
Windows Media Creation Tool
Microsoft offers a stand-alone application for creating Windows 10 installation media called Windows Media Creation Tool.
You won’t get anywhere without downloading and running this application.
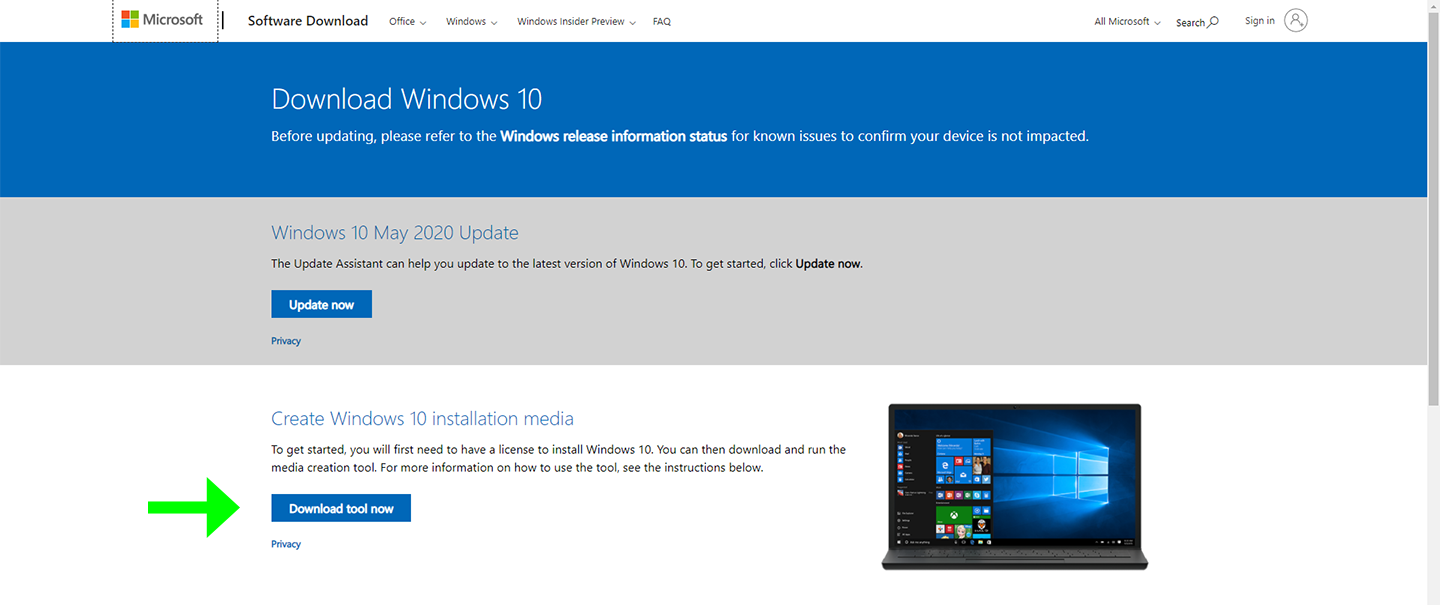
Open your web browser of choice and navigate to this page:
https://www.microsoft.com/en-us/software-download/windows10 ![]()
Click on the blue Download tool now button, as indicated by the green arrow in the picture above.
The web browser will begin the download.
Depending on your settings, it might ask you to verify the file download.
Once it finishes downloading, go to the browser’s downloads folder.
The file will look like this:
Getting Started
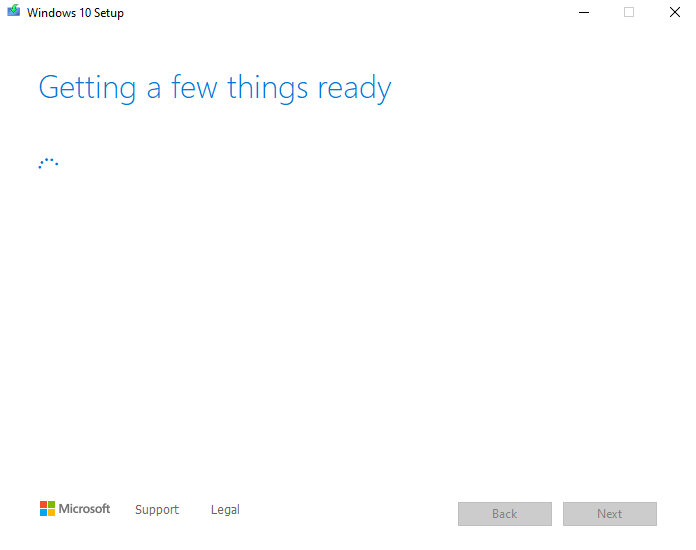
Double-click on the Windows Media Creation Tool icon to launch it.
You’ll be greeted by the Getting things ready screen.
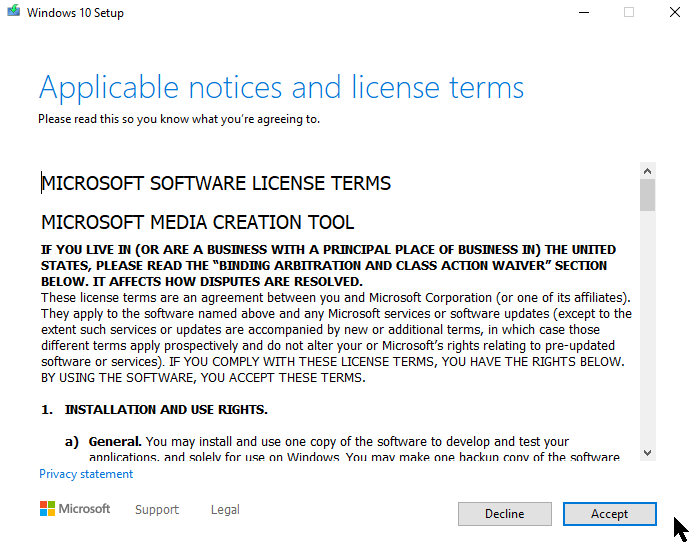
Next is the Applicable notices and license terms screen.
Read the Software License terms and then click on Accept in the bottom right corner of the window.
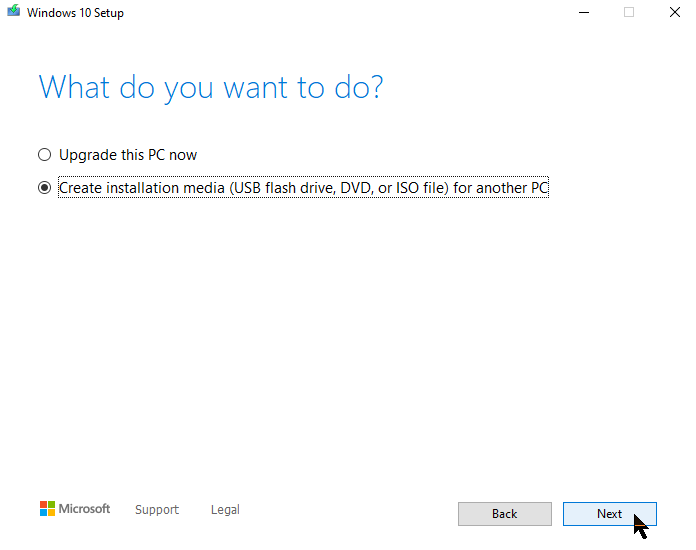
It will show the Getting things ready screen, again, then ask what you want to do.
Select Create installation media and click on Next in the bottom right corner of the window.
Setup will take you to the Select language, architecture, and edition settings.
Uncheck the checkbox next to Use the recommend options for this PC.
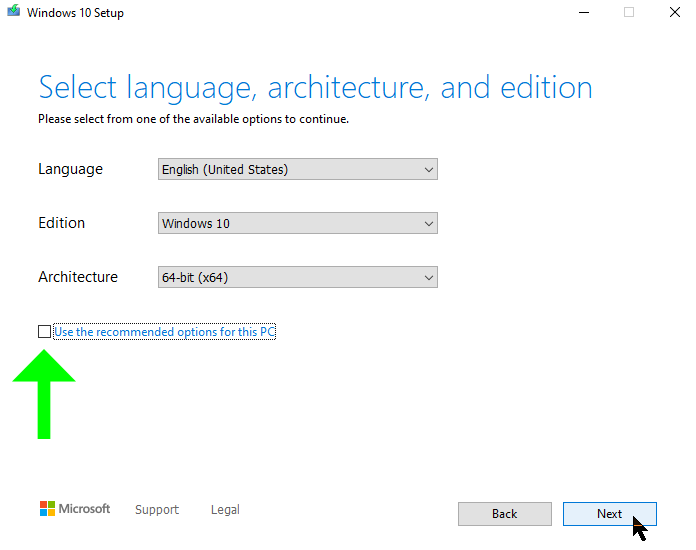
Choose the Language you want Windows 10 to be in.
Edition should remain set to Windows 10.
This process will make installation media for both Windows 10 Home and Windows 10 Pro.
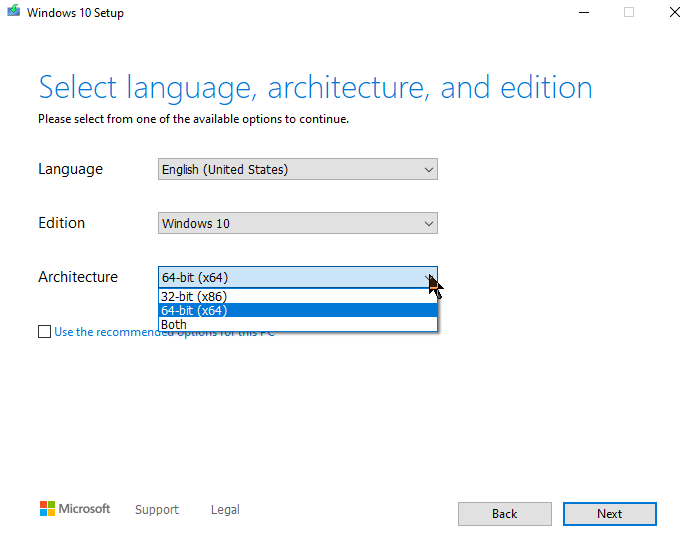
Architecture can be changed between 64-bit, 32-bit, and both.
The most common architecture for installation is 64-bit.
If you are making an installation media flash drive, any of these Architecture options can be selected.
However, if you are making an installation media DVD, there is usually only enough capacity for either 64-bit or 32-bit.
Once all the settings have been selected, click Next in the bottom right corner of the window.
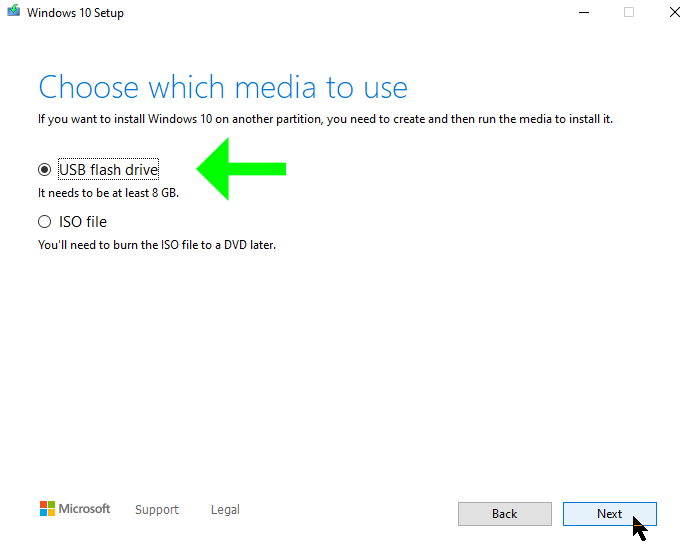
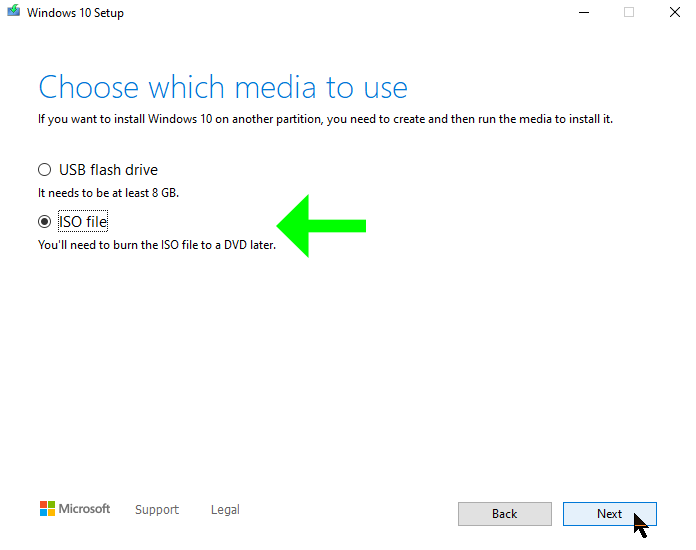
This will move setup to the Choose which media to use screen.
Use the buttons below to jump to the process for making either a flash drive ![]() or a DVD
or a DVD ![]() .
.
Windows 10 Flash Drive Installation Media
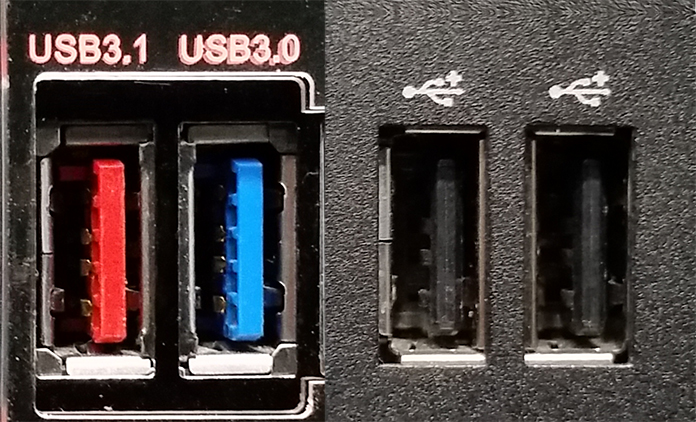
Insert a blank USB flash drive into a USB port on the computer.
Select USB flash drive from the Choose which media to use screen.
Click Next in the bottom right corner of the window.
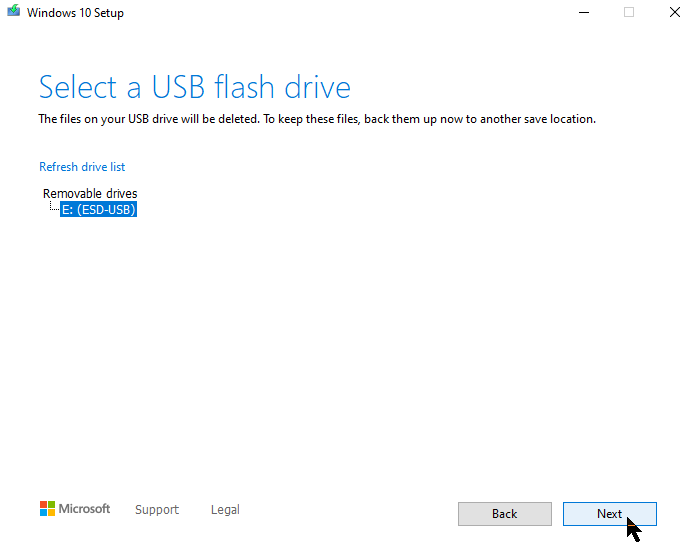
The next screen is the Select a USB flash drive screen.
Select the flash drive to be the installation media and click Next in the bottom right corner of the window.
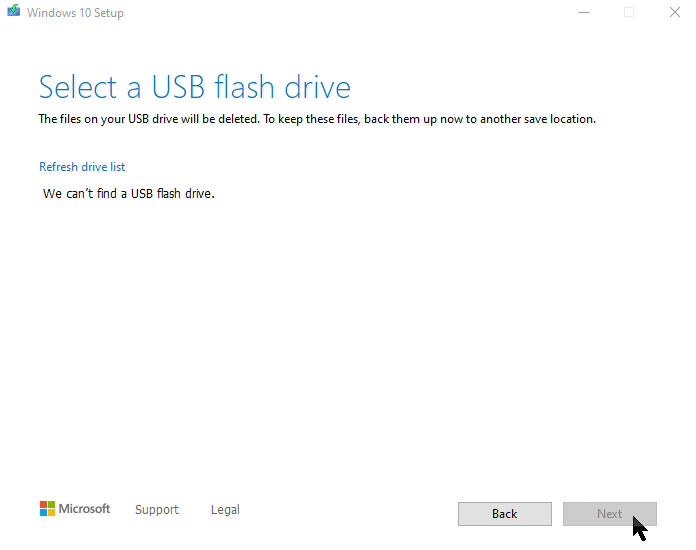
If Setup says We can’t find a USB flash drive, check to see if the flash drive is fully inserted into the port, then click Refresh drive list.
If it is still not detected, try putting the flash drive into another USB port on the computer, then click Refresh drive list.
A different flash drive is needed if it keeps failing detection.
The Getting things ready screen will appear after selecting the drive.
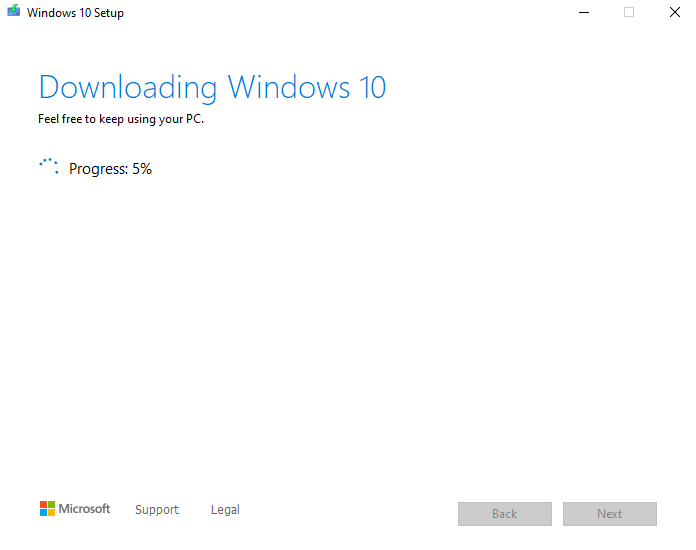
Setup will begin Downloading Windows 10.
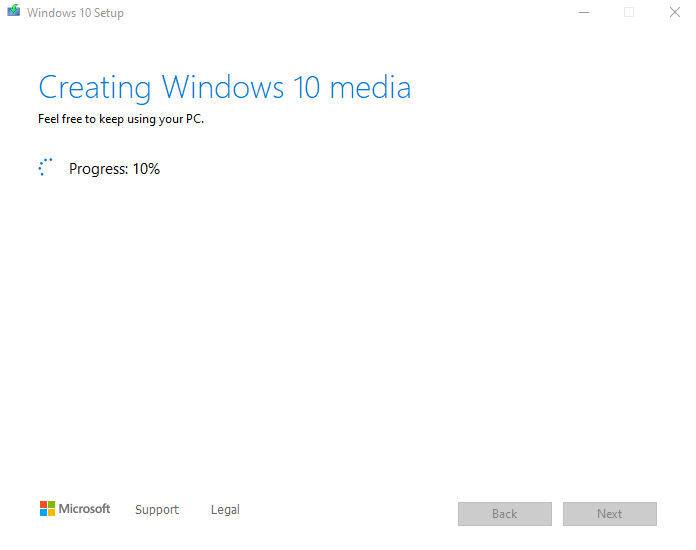
When the download reaches 100%, Setup will begin the Creating Windows 10 media stage.
Do not attempt to remove the flash drive during this process.
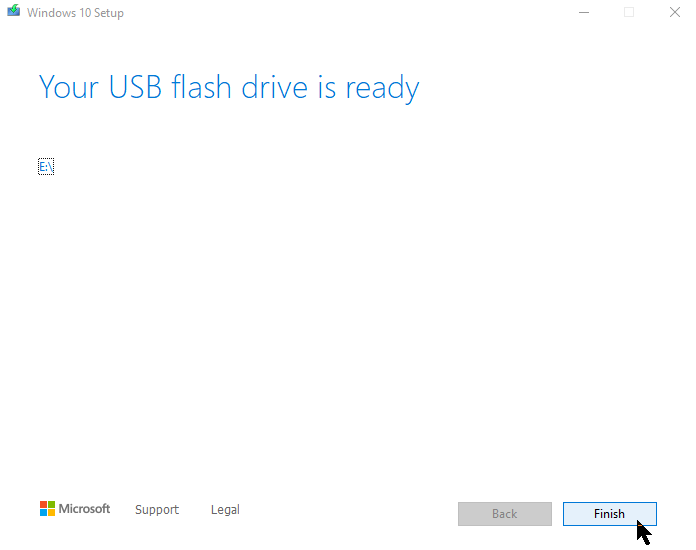
After Progress reaches 100%, Setup will inform you that Your USB flash drive is ready.
Click Finish in the bottom right corner of the window.
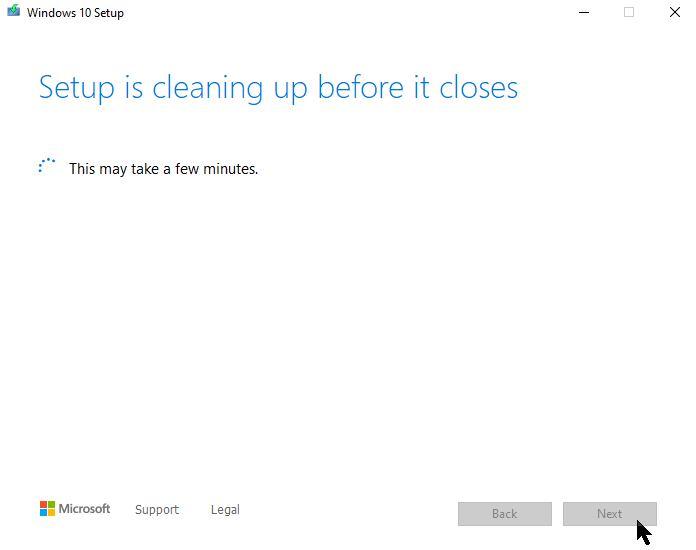
Setup will perform a little cleanup and then close itself.
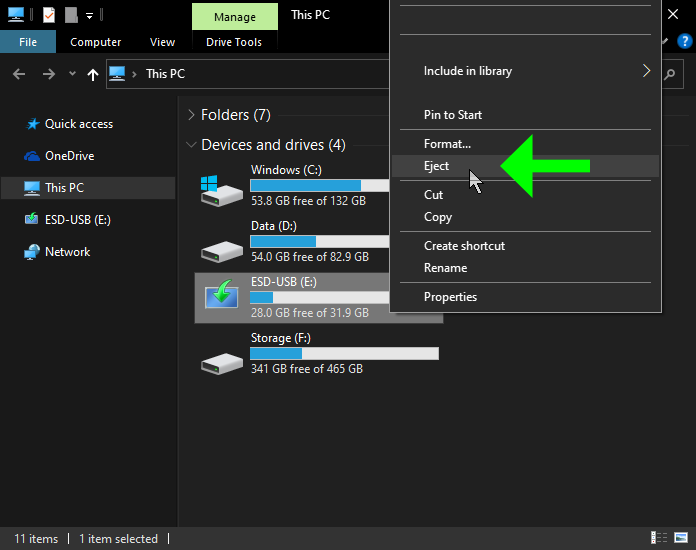
Properly eject the USB from the computer by right clicking on it in This PC and selecting Eject from the menu.
Remove the flash drive from the computer.
Now your Windows 10 USB installation media is complete and ready for use.
Note: The largest partition that this process will make on a flash drive is 32GB, even if the flash drive has a larger capacity than that.
Windows 10 DVD Installation Media
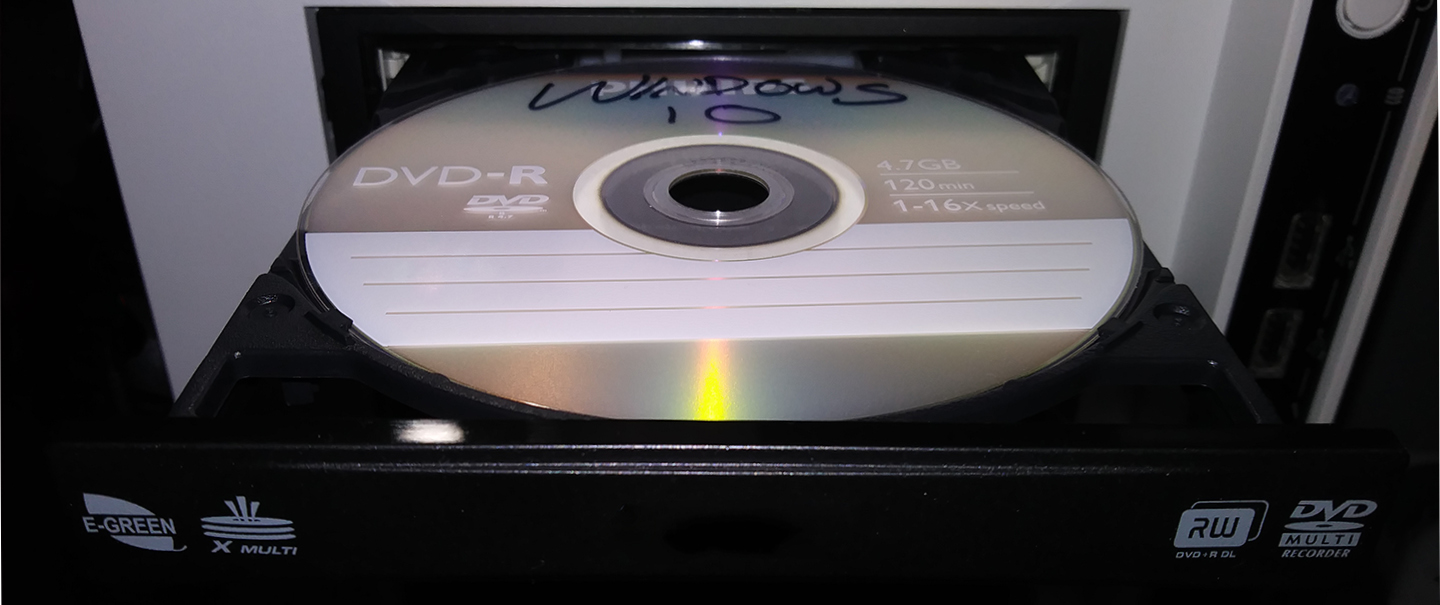
Insert a blank, writable DVD into the computer’s DVD burner.
Select ISO file from the Choose which media to use screen.
Click Next in the bottom right corner of the window.
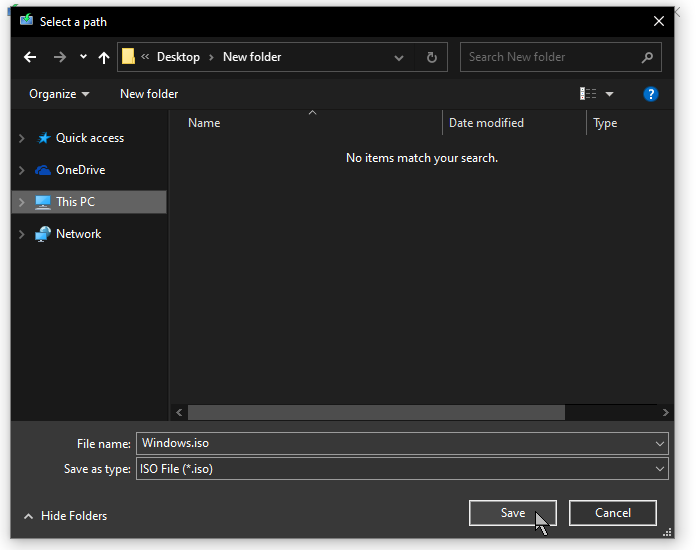
Setup will ask where to save the .iso file in a prompt.
Choose a location that will be easy to find.
Setup will automatically generate the File name.
Click Save in the bottom right corner of the prompt window.
The Getting things ready screen will appear briefly after choosing a save location.
Setup will begin Downloading Windows 10.
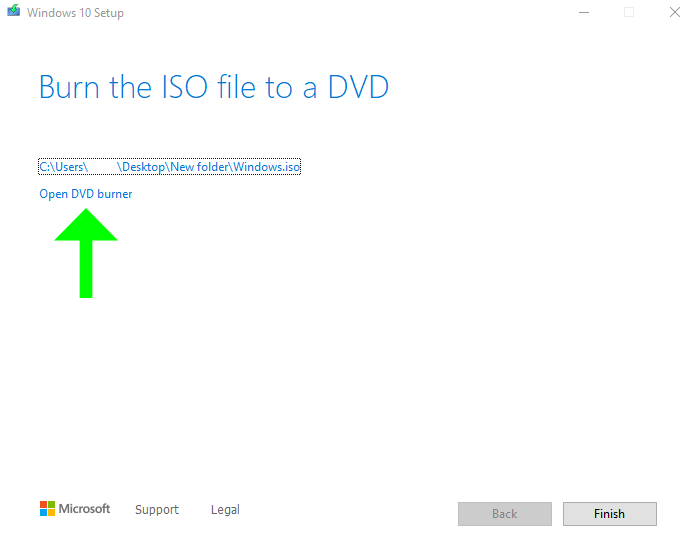
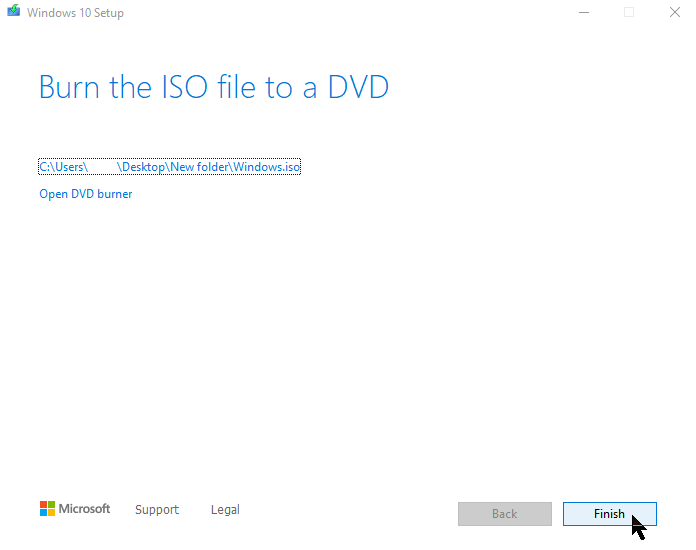
When Windows 10 downloads 100%, Setup will change to the Burn the ISO file to a DVD screen.
If you use a 3rd-party burning program (like ImgBurn ![]() ), click Finish in the bottom right corner of the window.
), click Finish in the bottom right corner of the window.
Use your burning program to burn the .iso to the blank DVD and complete the creation process.
Otherwise, to create the DVD through Windows Media Creation Tool, click on Open DVD burner.
Burning w/ Windows Disc Image Burner
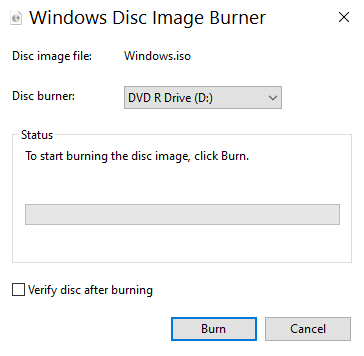
Windows Disc Image Burner will open.
Verify that Windows.iso appears after Disc image file.
Select the correct Disc burner from the dropdown box.
You can have Windows verify that the DVD burn was successful by checking the checkbox next to Verify disc after burning but it is not necessary.
Click Burn at the bottom of the window.
If the disc is not blank, Windows Disc Image Burner will inform you.
Eject the DVD from the burner and replace it with a blank one, then click Burn again.
The DVD will begin burning.
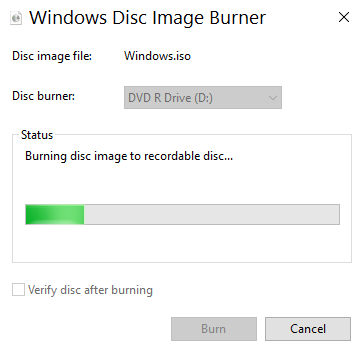
When the green meter fills all the way, the disc goes through the finalization process.
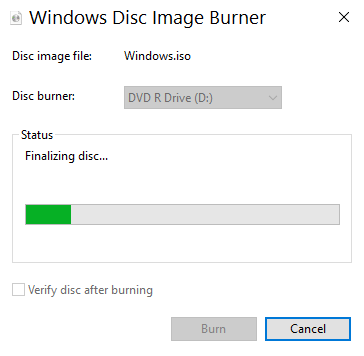
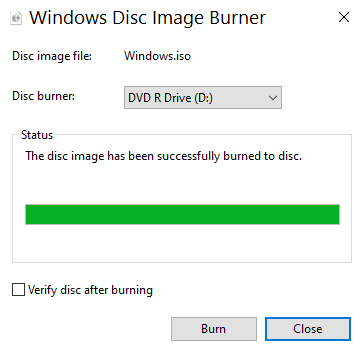
After the finalization meter fills, it will tell you that disc was successfully burned.
Click Close in the bottom right corner of the window to close Windows Disc Image Burner.
Click Finish in the bottom right corner of Windows Media Creation Tool.
Setup will perform a little cleanup and then close itself.
Successful writing can be verified by exploring the contents of the freshly burned DVD.
Navigate to the contents of the DVD.
It will look like this:
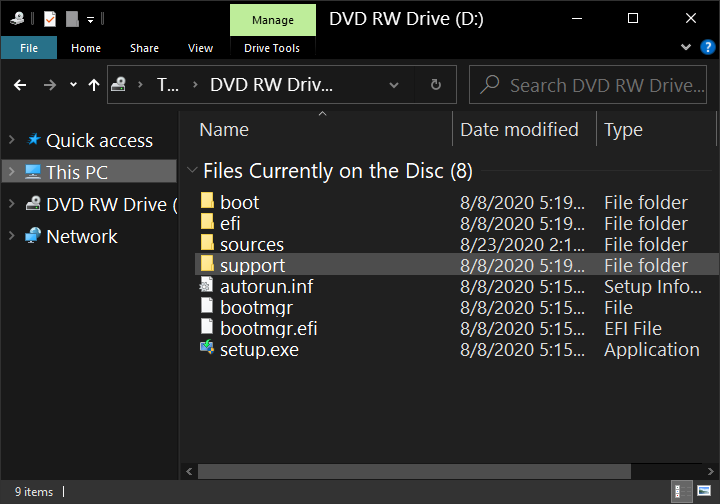
Remove the DVD from the computer.
Now your Windows 10 DVD installation media is complete and ready for use.
For instructions on how to install Windows 10 on a new PC, check out this blog ![]() posted by our close peer, Fluid Services.
posted by our close peer, Fluid Services.
They also have a great blog detailing how to optimize your Windows 10 installation ![]() .
.